

Set up
Check your parts
Check you have all the major parts.
1x 4080 1100mm
2x 4080 800mm
4x 4080 600mm
2x 4040 600mm
14x L brackets
4x monitor mounting brackets
4x monitor arm brackets
notes
Before starting
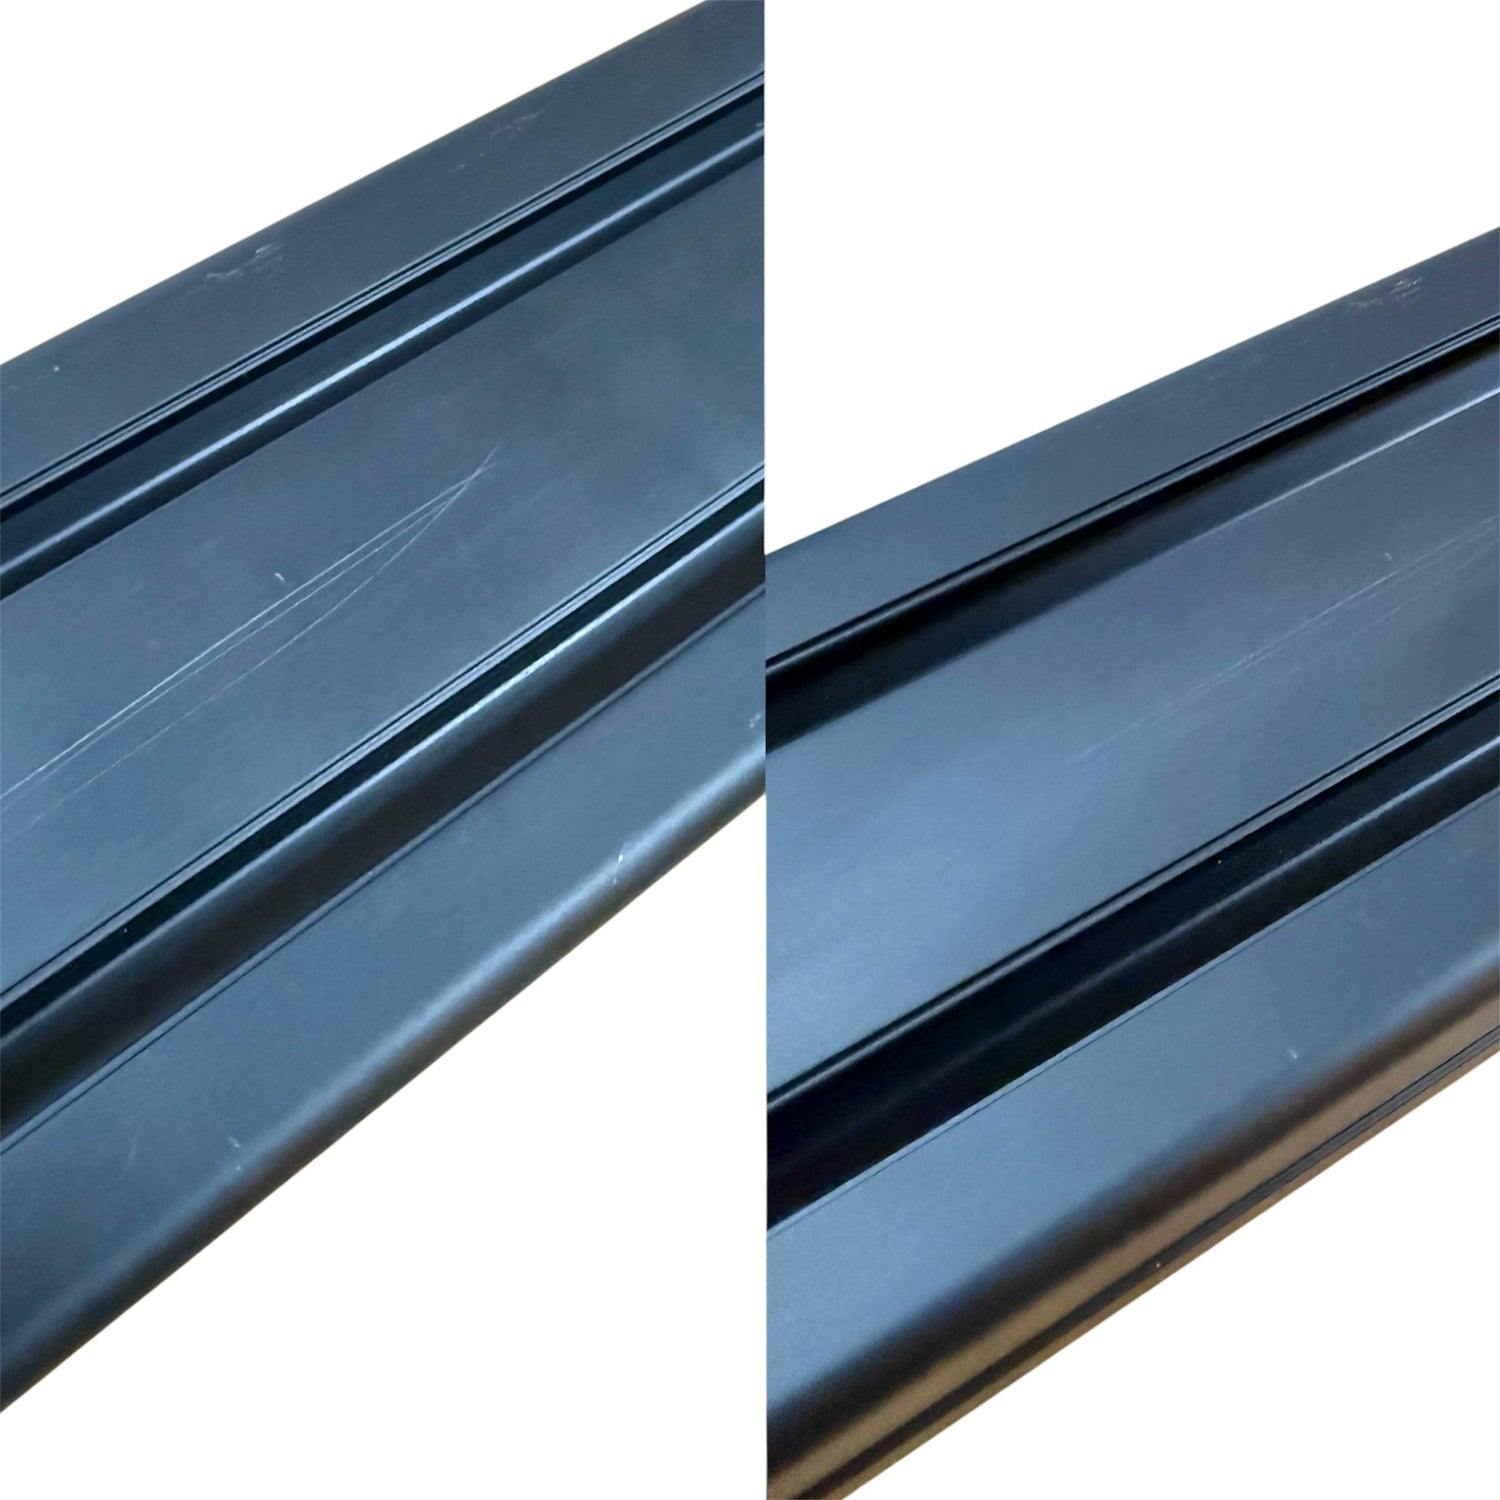
The profiles are anodised aluminium. They can be scratched without
careful assembly; however, if there does appear to be a scratch, most of
the time they can be rubbed off with your fingers.

Notes
Please reference out fastener guide to check the names and sizes of your fasteners to ensure you are using the correct ones for each step.

Notes
The L brackets with caps may need the tabs broken off for some accessory mounting.
These can be easily snapped off with leverage from a flat-head screwdriver.

notes
Be careful with the edges of the aluminium profile as they are sharp and can damage floors with the weight of the seat.


The build
Start by attaching the feet to the 4040 600mm pieces

The build
Add brackets to the back of the 600mm 4040 pieces (the ones that you just added feet to).

The build
Attach the 800mm 4080 pieces to the 600mm 4040 pieces with another L bracket.

The build
Attach 1x lengthwise connector to a 600mm 4080 piece.

The build
Connect these on the top of the 800mm 4080 piece to create two large L stands.
Slide another lengthwise connector down one of the grooves and bolt these into place.
These are the main posts and feet.

The build
Now the two feet and posts should be complete.

The build
Now is a good time to plan out the approximate height and width of the posts.
Once the post width is determined then attach 4 brackets to the 1100mm 4080 piece at the appropriate width.
We recommend spacing the feet wider rather than narrower.

The build
To plan the correct monitor height attach one of the brackets to your monitors.

The build
Once the best height is identified attach the cross bar to the posts.
This is best done when the posts are lying on the ground. Attach caps to cover and sharp edges and prevent floor damage.

The build
Attach the cross beam to the other post and use the spirit level included to make sure the cross beam is level.
Now the height of the central monitor can be checked. Adjust the height of the cross beam until your happy then go back and attach more L brackets between the posts and the cross beam.

The build
Add one more bracket on top of the cross beam .

The build
Now you should have a complete single monitor stand

The build
Next step is to attach the arm brackets to the remaining 4080 pieces.

The build
This is the standard orientation of the arm brackets. Only see below if you have XL monitors.

The build
If you have very large monitors the width can be increased by using a different orientation. This image is not the typical orientation and is only for XL monitors.

The build
Slide the arms into position.
At these stages it is recommended to use the spirit level included to keep everything flat and aligned.
The build
Attach the monitor brackets to the back of the monitors

The build
Attach the monitors to the stand

Adjustments
It is very common for the arms to sag slightly. To fix this loosen the two bolts on the top of the arm bracket then lift the arm with the monitor attached into a higher position then re-tighten the bolts.

Adjustments
The monitor bracket has included tilt and angle adjustments.

Adjustments
If finer alignment is needed a fully adjustable monitor bracket is available.